
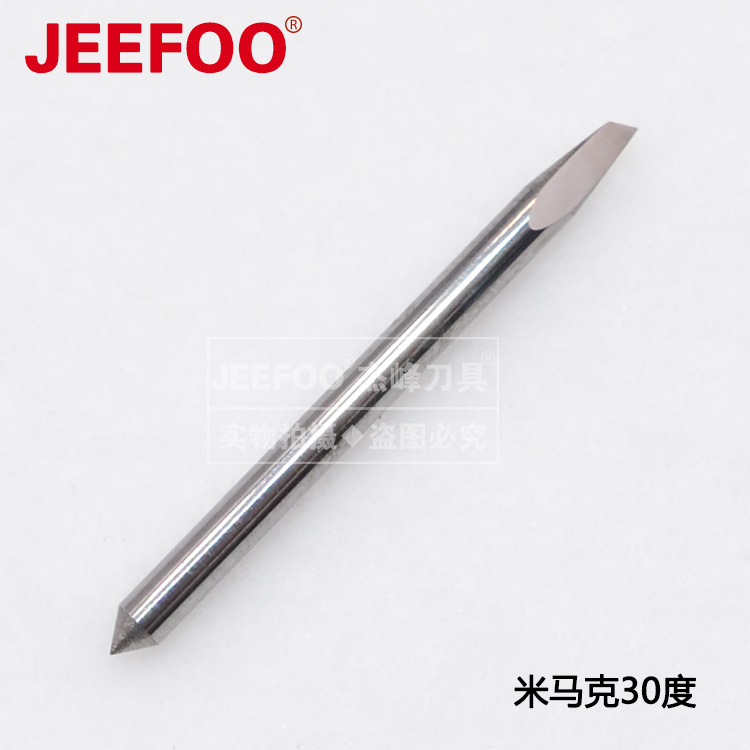
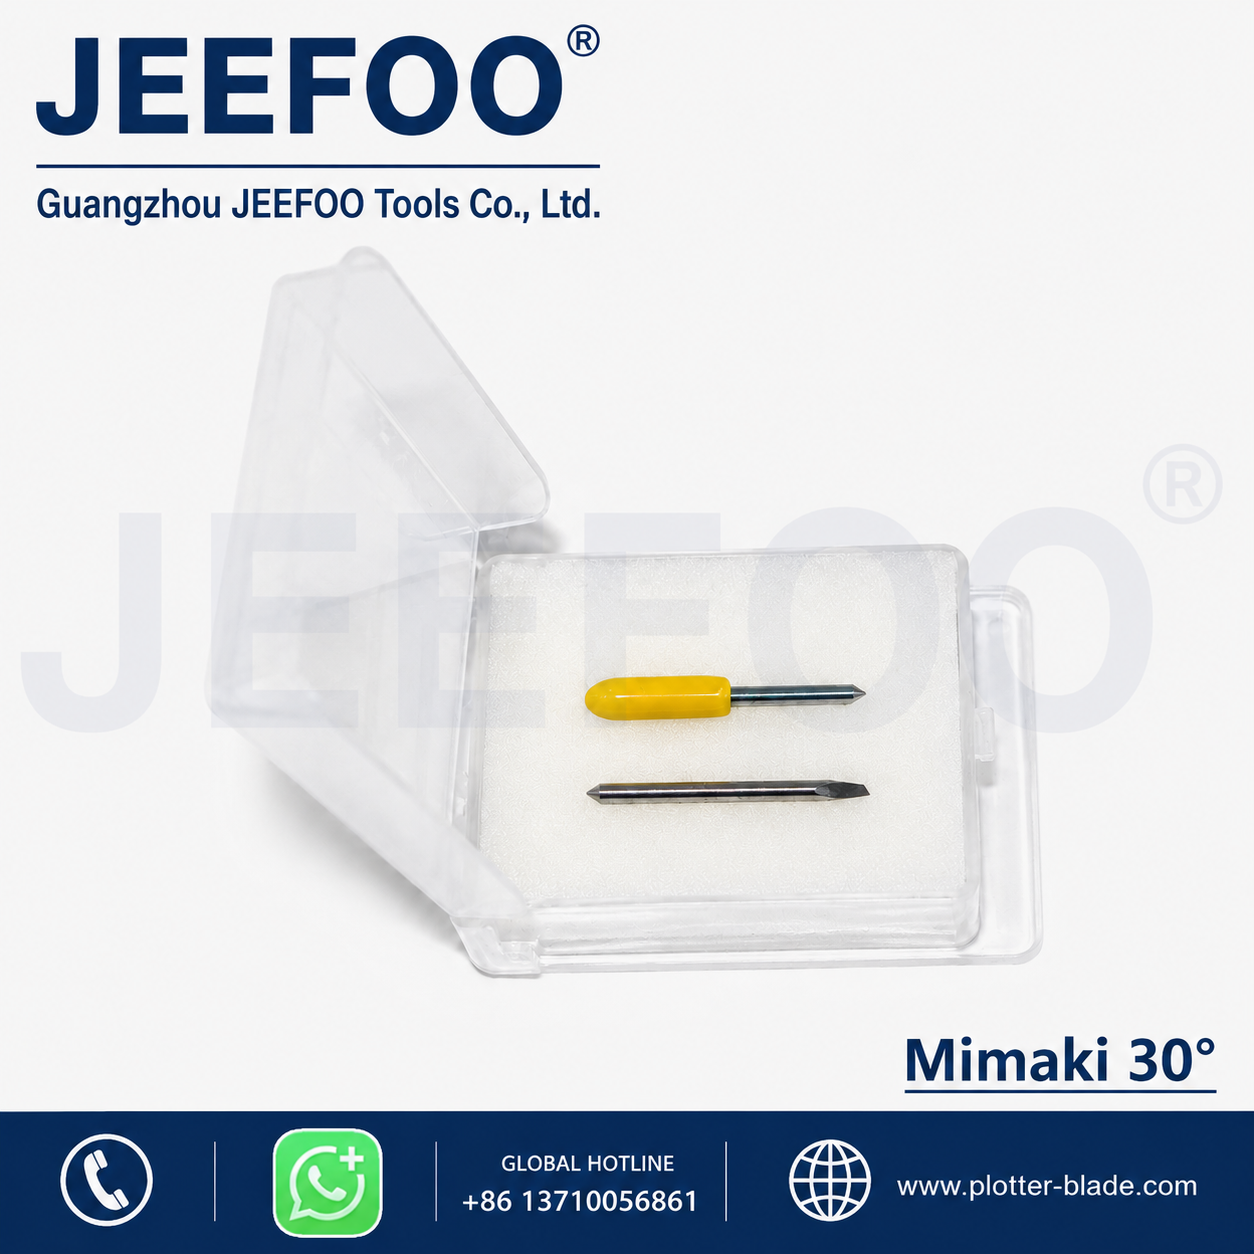
Quick answer: A single-edged cone knife is a pointed engraving cutter with one primary cutting edge and a conical profile. Select it by the smallest detail, required groove width and depth, included angle, tip size, material, spindle runout and the machine maker’s limits. The 45°, 60°, 90° and 120° angles mentioned in the source are possible V-groove options, not universal recommendations for every plate or process.

What is a single-edged cone knife?
The tool combines a conical body with one dominant cutting edge and a small or sharp tip. It is commonly considered for lettering, line engraving, chamfers and V-shaped grooves. Actual suitability depends on the tool’s material, edge geometry, shank, tip diameter, included angle and the equipment that holds and drives it.
“Knife” is a catalog or industry label in this context; the tool rotates like an engraving cutter. Treat it as a precision cutting tool. Do not hand-hold it, touch it while rotating or assume that a pointed tip can tolerate side loading.
How cone angle changes the groove
For a symmetrical V profile, a wider included angle generally creates a wider opening at the same depth. A narrower angle can reach finer details but usually leaves a more delicate point. The exact width also depends on tip flat, runout, tool setting, material response and actual cutting depth. Measure a test groove instead of relying only on nominal geometry.
| Geometry factor | Why it matters |
|---|---|
| Included angle | Influences groove wall angle and top width |
| Tip diameter or flat | Sets the minimum practical bottom width |
| Cutting-edge length | Limits usable depth along the cone |
| Shank diameter | Must fit the verified collet or holder |
| Runout | Can enlarge the cut and overload the point |
| Tool material and coating | Must suit the work material and process |
Seven single-edged cone knife selection checks
- Start with the artwork. Identify the narrowest line, smallest character, internal corner and required depth.
- Calculate the intended groove. Relate angle and depth to the target top width, then account for the real tip size.
- Confirm the material. Acrylic, plastics, wood, laminates and metals cut differently and may need different tool designs.
- Check tool specifications. Verify included angle, tip, cutting length, shank, recommended material and permitted speed range.
- Check the machine. Confirm compatible holder, spindle range, runout, rigidity and toolpath capability.
- Plan chip and heat control. Use a method permitted for the material, cutter and workplace.
- Make a measured test cut. Inspect width, depth, burrs, melting, edge quality and tip condition before production.
Fine text and small patterns
A small included angle and a fine tip may reach narrow details. The tradeoff is a more delicate point and a narrower range of depth before the groove becomes too wide. Use shallow passes when required by the toolmaker, minimize overhang and confirm spindle runout. If letters close up or corners become rounded, check tip size and actual depth before changing the artwork.
Do not choose the smallest possible point automatically. Select the strongest verified geometry that still fits the smallest feature. This improves repeatability without claiming a specific tool life.
Large lettering and broad patterns
A wider angle or larger cutting edge may be efficient for broad lines and larger signs, but it changes the relationship between depth and width. It may also demand more power and produce a larger contact area. Confirm that the machine, holder and material can support the load, and avoid copying settings from a smaller cutter.
The source suggests maximizing angle and edge size for efficiency. A safer interpretation is to use the largest suitable geometry that still produces the required feature and remains within verified machine and tool limits.
What do 45°, 60°, 90° and 120° mean?
These values normally describe the included angle between the two sides of a V-shaped profile. They may be used for decorative lines, folding grooves, lettering or chamfers when the drawing calls for that geometry. A 120° cutter opens more broadly than a 45° cutter at the same depth, but no angle is automatically correct for a material.
For plate V-grooving, confirm the remaining material thickness, bend or decorative requirement, cutter tip, maximum depth and the exact profile specified by the designer. Do not assume the groove can approach full material thickness safely.
Material considerations
Acrylic and other thermoplastics
Heat can soften or melt some plastics. Use a cutter designed for the polymer, effective chip evacuation and parameters supported by the tool and material supplier. Clouding, smeared chips, welded material or a rough edge indicate that the process needs to stop and be reviewed.
Wood and wood products
Grain direction, density, adhesives and coatings influence cut quality. Secure the panel, control dust and test for tear-out or burning. Composite wood dust may require workplace controls beyond ordinary cleanup.
Metals
Do not infer metal-cutting capability from carbide appearance alone. Verify the grade, coating, edge preparation, speed range, lubrication or coolant requirements and machine rigidity for the specific alloy.
Single-edged cone knife test-cut procedure
- Inspect the tip under adequate lighting and reject chips, cracks or visible damage.
- Clean the shank and holder, insert to the specified engagement and minimize unsupported length.
- Secure and level the workpiece, then confirm the toolpath stays clear of clamps.
- Set conservative starting parameters from the exact tool and material data.
- Cut a short sample containing a line, corner and representative detail.
- Measure groove width and depth; inspect burrs, melting, dust, sound and edge finish.
- Change one variable at a time and document the accepted setup.
Common problems and checks
| Problem | Check first |
|---|---|
| Groove wider than expected | Depth, tip flat, runout and tool angle |
| Fine tip breaks | Entry method, overhang, lateral load and feed |
| Plastic melts | Tool design, chip evacuation, heat and parameters |
| Burrs or fuzzy edges | Edge condition, material support and cutting direction |
| Depth varies | Panel flatness, workholding, zero reference and runout |
Safety and maintenance
- Use guards and enclosure features provided by the machine manufacturer.
- Stop the spindle before measuring, cleaning or inspecting the cutter.
- Keep hands away from the toolpath and never remove chips by hand near a cutter.
- Wear eye protection and control chips, mist or dust according to the material and workplace.
- Store the point protected from impact and contact with other tools.
- Replace a damaged cutter; do not attempt an improvised repair to a cracked point.
OSHA’s machine-guarding guidance explains general protection from rotating and moving parts. Also follow the machine manual, toolmaker instructions and applicable workplace rules.
Read more engraving cutter selection guides.
Frequently asked questions
Which single-edged cone knife angle is best for small text?
No one angle fits every job. Start from the narrowest feature, required depth, tip size and material, then verify with a measured sample.
Is a larger angle always faster?
No. It may create a broader cut and greater contact, while machine power, chip control and finish can limit productivity.
Can the same cutter engrave acrylic and metal?
Only if the cutter manufacturer explicitly supports both materials and the machine can provide the required conditions. Do not assume compatibility.
Why is the groove wider than the toolpath preview?
Possible causes include excess depth, tip flat, spindle runout, material movement or a mismatch between the programmed and actual included angle.
Should V-grooving be completed in one pass?
Not by default. Pass strategy depends on tool strength, material, depth, machine rigidity and manufacturer guidance.
Conclusion
A single-edged cone knife should be selected from the required groove and verified specifications, not from angle alone. Match the smallest feature, depth, included angle, tip, material and machine; then use a controlled test to confirm the result before production.


发表回复
要发表评论,您必须先登录。