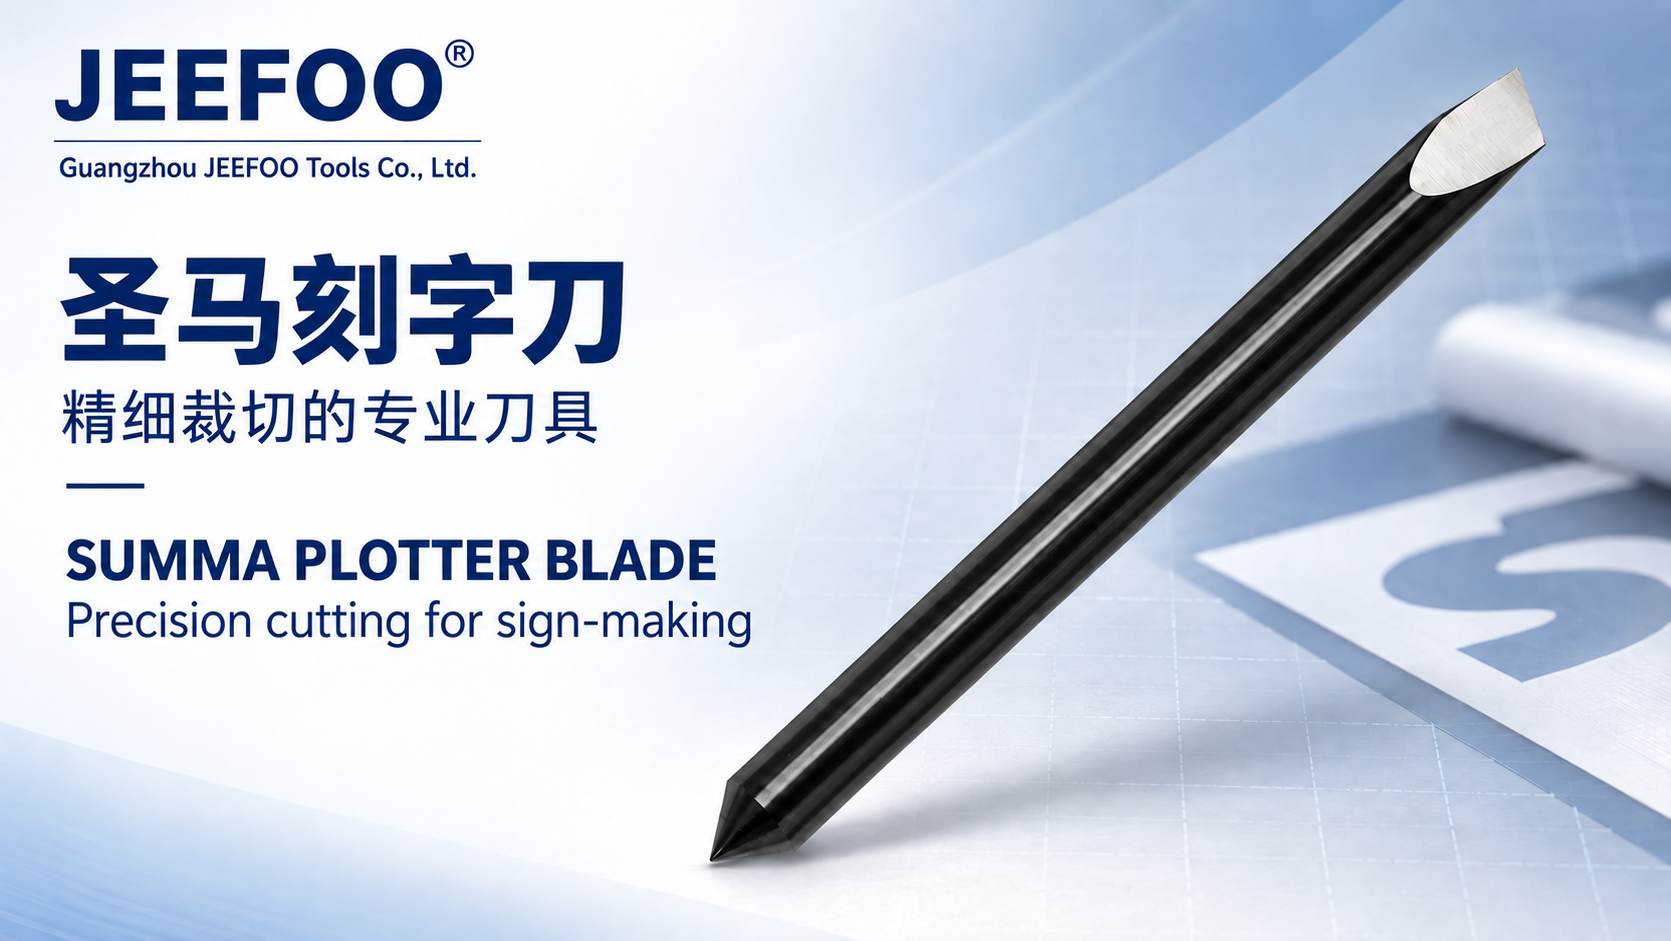
Quick answer: A single-edged column knife is a carbide rotary cutter described for vertical two-dimensional cutting in compatible two-color board, plastic board and acrylic below 3 mm. Unlike a pointed engraving knife, its column-style edge is intended to leave a straighter wall, which can help with fitted or inlay parts. The exact cutter diameter, edge length, carbide grade, machine and sheet formulation must still be verified.

What is a single-edged column knife used for?
The original listing describes two-dimensional profile cutting rather than V-groove engraving. Suitable work may include letters, labels, inserts and flat shapes when the cutter can reach the full depth without rubbing its shank or holder. Tool diameter controls the smallest internal radius, so sharp inside corners require a compatible design, a secondary operation or an accepted corner relief.
The listing also contrasts this cutter with a sharp pointed knife. A pointed knife may cut two-color board, but its tapered geometry can create a sloped wall. It can also become dull or leave burrs in an unsuitable setup. Those results depend on edge condition, depth, feed, speed, runout and material—not the tool name alone.
Why the single-edged column knife makes a vertical cut
A column-style cutting edge removes material along a substantially cylindrical path, so the wall is intended to remain vertical rather than follow a V-shaped taper. That geometry is useful when two parts must fit together, but a vertical wall does not guarantee a precise inlay. Kerf, tool diameter, machine backlash, runout, chip recutting and material movement all affect the final fit.
Measure both test pieces with the intended finishing process. CAM compensation should use the actual measured diameter, and the design should allow for the tool’s corner radius. Do not claim a press fit or clearance fit until a sample has been cut and checked.
Two-color board, plastic board and acrylic below 3 mm
The source text lists compatible two-color board, plastic board and acrylic under 3 mm. Treat that thickness as a product-listing limit, not a universal promise for every sheet, spindle or pass strategy. Cast and extruded acrylic can behave differently, and generic plastic board covers many formulations. LMT Onsrud’s acrylic routing guidance identifies tooling, programming, machine condition and fixturing as important finish factors.
| Material | Watch for | Verify before production |
|---|---|---|
| Two-color board | Burrs, top-layer chipping, inconsistent depth | Sheet type, edge sharpness, hold-down and test depth |
| Plastic board | Heat, smearing, chip rewelding | Exact polymer, ventilation and supplier parameters |
| Acrylic below 3 mm | Melting, cracking, rough edge | Cast or extruded grade, chip evacuation, feed and speed |
Seven single-edged column knife setup checks
- Confirm the sheet. Identify its manufacturer, formulation and actual thickness.
- Inspect the cutter. Verify diameter, cutting-edge length, shank size and visible damage.
- Measure runout. Clean the collet and holder and minimize unsupported reach.
- Model the real geometry. Enter the measured diameter and usable edge length in CAM.
- Secure the full sheet. Prevent lifting, vibration and contact between clamps and the toolpath.
- Use material-specific starting data. Follow the cutter and sheet suppliers for speed, feed, depth and chip control.
- Cut a sample. Check wall angle, dimensions, burrs, heat, chips and mating-part fit.
Single-edged column knife troubleshooting
| Symptom | Check |
|---|---|
| Burrs remain | Edge wear, feed, speed, depth, support and chip evacuation |
| Wall is not vertical | Runout, deflection, work movement, CAM geometry and spindle alignment |
| Plastic melts | Sharpness, dwell, chip recutting, feed and spindle speed |
| Inlay fit is loose or tight | Measured diameter, compensation, backlash and material movement |
| Top layer chips | Cut direction, edge condition, support and test-pass strategy |
Explore more engraving and cutting tool guides.
Safety notes
- Use guarding and extraction suitable for the exact plastic or laminate.
- Stop the spindle before touching the cutter or clearing chips.
- Keep clamps, vacuum fixtures, shank and holder outside the toolpath.
- Never exceed the lowest speed limit in the cutter, collet, holder and spindle assembly.
- Stop if vibration, sound, load, heat or chip form changes unexpectedly.
Frequently asked questions
Does a single-edged column knife guarantee burr-free cutting?
No. Burrs also depend on material, sharpness, runout, chip evacuation, support and cutting parameters.
Can it cut every acrylic sheet below 3 mm?
No. The listing gives a thickness range, but the exact acrylic grade, cutter specification and machine setup must be confirmed.
Why is a vertical wall useful for inlays?
Compatible vertical walls can help mating parts align, while actual fit still depends on diameter, compensation and machine accuracy.
Should the widest available cutter be used?
Not automatically. Diameter must fit the smallest internal feature and acceptable corner radius.
Conclusion
A single-edged column knife is best evaluated by its measured geometry and the actual sheet. Confirm the under-3-mm application limit, model the cutter correctly, secure the material and inspect a sample before production.