
A flat-bottom engraving cutter is a rotary cutting tool chosen when a job needs a defined flat floor, a vertical wall, or a controlled corner transition. Tool diameter, corner radius, runout, workholding, alloy, and machine rigidity determine whether it can produce the required geometry and finish.

Quick answer: Select the smallest rigid cutter that can reach the feature, confirm its actual diameter and corner geometry, minimize tool overhang, and begin with a shallow test cut. A flat end does not create a perfectly sharp internal corner; the cutter radius and runout remain in the finished part.
Table of contents
- What the tool is
- Geometry and feature limits
- Copper and aluminum checks
- Seven setup checks
- Test-cut procedure
- FAQ
What is a flat-bottom engraving cutter?
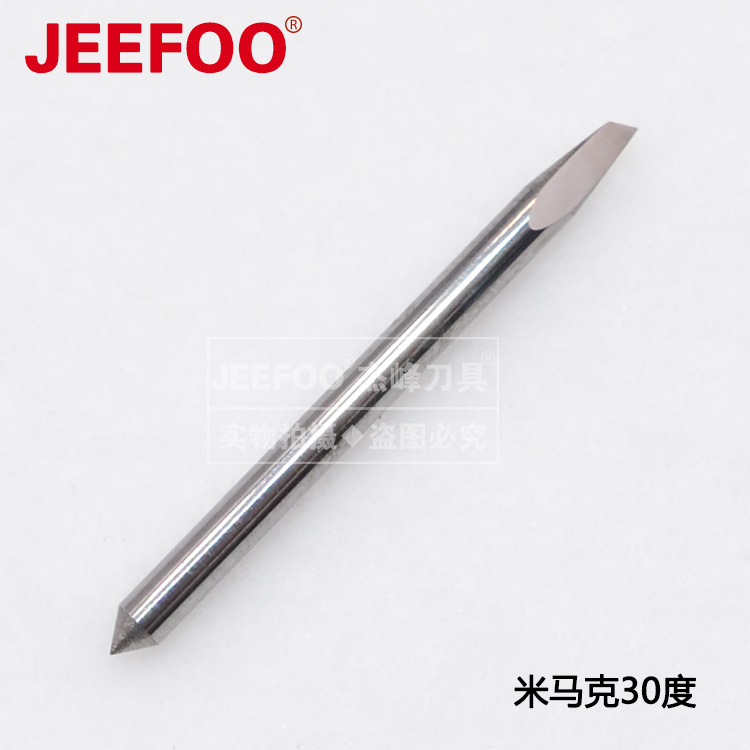
A flat-bottom engraving cutter has an end geometry intended to leave a flat surface rather than the pointed groove made by a V-bit or the curved floor made by a ball-end tool. Depending on the manufacturer, the tool may be sold as a flat-end engraving cutter, micro end mill, or specialized finishing cutter. Confirm the maker’s drawing because names alone do not define diameter, corner radius, flute count, coating, or allowed cutting direction.
Flat-bottom engraving cutter geometry
The cutting diameter controls the smallest accessible pocket and the minimum wall spacing. The corner radius controls the transition between the floor and wall. Even a nominally square tool has a finite edge radius, edge preparation, or wear land, so a machined internal corner cannot be mathematically sharp.
| Geometry item | What it affects | What to verify |
|---|---|---|
| Cutting diameter | Minimum pocket width and tool stiffness | Manufacturer drawing or measured tool |
| Corner radius | Floor-to-wall transition | Specified radius and wear |
| Flute length | Maximum reachable depth | Cutting length, not overall length |
| Shank diameter | Collet compatibility | Clean, undamaged matching collet |
| Overall reach | Clearance and deflection | Use the shortest safe overhang |
Flat floors, vertical walls, and internal corners
A flat-bottom engraving cutter can generate a flat floor and machine a wall when its geometry and cutting edges support those operations. The machine path, spindle runout, tool deflection, and stock allowance still influence flatness and wall position. For a small inside corner, compare the model’s required radius with the cutter’s effective radius; use a smaller tool or a compatible corner-clearing process when the design requires more clearance.
Copper and aluminum applications
Copper and aluminum are families of alloys, not single materials. Their machinability, tendency to form built-up edge, heat behavior, and chip evacuation needs vary. Use cutting data from the exact tool supplier for the alloy and cutter. A polished, sharp edge and effective chip removal may help in non-ferrous work, but coating, speed, feed, and coolant choices must match the tool and machine.
Do not treat the original article’s statement that these materials “do not require high linear speed” as a universal rule. Surface speed and feed per tooth are linked to tool material, diameter, alloy, engagement, edge geometry, and cooling. Calculate spindle speed and feed from verified inputs, then stay within spindle, holder, and tool limits. Sandvik Coromant’s milling formulas and definitions explain the standard relationships among cutting speed, spindle speed, feed per tooth, and table feed.
Seven flat-bottom engraving cutter setup checks
- Confirm the drawing. Record cutting diameter, flute length, corner radius, shank, and maximum allowed speed from the manufacturer.
- Inspect the edge. Reject chipped, heavily worn, contaminated, or uncertain tools.
- Clean the holder. Chips on the shank, collet, or taper can create runout and poor clamping.
- Minimize overhang. Extra reach increases deflection and vibration. Use only the length needed for safe clearance.
- Secure the workpiece. Support thin stock and keep clamps clear of the complete programmed path.
- Plan chip evacuation. Prevent recutting and packing, especially in narrow pockets. Follow material, machine, and facility rules for air, vacuum, or fluid use.
- Run a controlled test. Start with conservative, tool-specific data and a shallow pass, then inspect the result before increasing load.
Runout and tool deflection
Runout makes one cutting edge carry more load than another and can enlarge the effective cutting diameter. Deflection moves the tool away from its unloaded position and can taper a wall or change the floor. Check holder condition, spindle condition, tool overhang, radial engagement, and cutting load when the dimension or finish changes around the path.
Roughing and finishing strategy
Roughing removes material while preserving a stable stock condition for the finish pass. Finishing removes a controlled allowance to meet dimensional and surface requirements. A finishing tool cannot correct every roughing error: excessive stock variation, recut chips, vibration, poor datum control, or unstable workholding may remain visible. Leave a consistent allowance and verify that the finish cutter can enter and exit without rubbing or dwelling.
Toolpath and engagement
A full-width slot loads a cutter differently from a light side cut or floor-finishing pass. Entry method, radial engagement, axial depth, and cutter rotation affect chip thickness and force direction. CAM defaults are not a substitute for verified tool data. Simulate the complete path, check holder and fixture clearance, and review whether the cutter is designed for ramping or plunging before using those moves.
Flat-bottom engraving cutter test procedure
- Verify the program zero, units, tool number, compensation, spindle direction, and work offset.
- Perform the machine builder’s approved dry-run or single-block check with safe clearance.
- Cut a shallow sample in representative material using supplier-approved starting data.
- Observe spindle load, sound, chip form, evacuation, and visible vibration from a protected position.
- Stop the spindle before measuring. Inspect floor flatness, wall location, corner radius, burrs, and edge condition.
- Change one variable at a time and document the result.
Common problems and checks
| Symptom | Possible checks |
|---|---|
| Uneven floor | Machine alignment, runout, insert or edge height, tool deflection, stock movement |
| Tapered wall | Overhang, engagement, tool wear, holder condition, finish allowance |
| Burrs | Edge sharpness, feed, exit direction, alloy, support and chip evacuation |
| Built-up edge | Tool geometry, verified cutting data, chip removal, approved lubrication |
| Chatter marks | Rigidity, overhang, holder, engagement, spindle condition and workholding |
| Oversize feature | Actual diameter, runout, compensation, thermal state and measurement method |
Safety and guarding
Keep guards and interlocks in service, use the machine builder’s procedures, and keep hands, gauges, and loose items away from a rotating spindle. Stop and isolate the machine before touching the cutter or clearing a jam. The U.S. Occupational Safety and Health Administration provides general machine-guarding information; applicable local requirements and the machine manual control the actual workplace procedure.
Frequently asked questions
Can a flat-bottom engraving cutter make a sharp internal corner?
No rotary cutter makes a mathematically sharp internal corner. The effective tool radius remains. Redesign the corner, choose a smaller compatible cutter, or use a separate corner-clearing process when required.
Is a flat-bottom cutter only for finishing?
No. Whether it is suitable for roughing, finishing, slotting, ramping, or plunging depends on the specific tool design and supplier instructions.
Can one speed and feed be used for every aluminum or copper alloy?
No. Use data for the exact tool, diameter, alloy, engagement, machine, and cooling method. Verify spindle and holder limits before running.
Why does a flat floor still show steps?
Check runout, alignment, tool deflection, path overlap, edge condition, stock movement, and whether multiple passes used consistent tool compensation.
How should a flat-bottom engraving cutter be measured?
Use an appropriate calibrated method after the spindle stops. Consider actual cutting diameter, runout, corner radius, wear, part temperature, and the drawing’s measurement definition.
Conclusion
A flat-bottom engraving cutter is useful for controlled floors, walls, and finishing features when its geometry matches the design. Verify the manufacturer’s tool data, minimize overhang, secure the work, plan chip evacuation, and validate the process with a shallow documented test. Browse more engraving cutter setup articles for related machining guidance.


发表回复
要发表评论,您必须先登录。