Acrylic carving tools determine whether an engraved sign, display, panel, or prototype leaves the machine with clean precision cuts instead of chips, melting, and cloudy edges. Acrylic behaves differently from wood and metal: it is relatively hard yet heat-sensitive, so tool geometry, spindle speed, feed, chip evacuation, and workholding must work together. This practical guide explains how to select and use acrylic cutters, with application support from JEEFOO in Guangzhou, China.
Acrylic Carving Tools: Quick Selection Guide
- Identify the acrylic type
- Choose cutter geometry
- Match diameter and reach
- Balance speed and feed
- Remove chips and heat
- Secure the sheet
- Plan roughing and finishing
- Inspect the edge
- Machine safely
1. Identify Cast or Extruded Acrylic
The first step when selecting acrylic carving tools is identifying the sheet. Cast acrylic generally machines cleanly, produces small chips, and is preferred for detailed engraving. Extruded acrylic is more uniform in thickness and economical, but it softens more readily and can wrap around a cutter if heat builds. Protective film, sheet thickness, additives, and recycled content also affect cutting behavior.
Run a short test on scrap from the actual production batch. Examine chip shape, edge clarity, burrs, and any whitening near the cut. A stable process should create defined chips rather than sticky strings or melted dust.
2. Choose the Correct Cutter Geometry
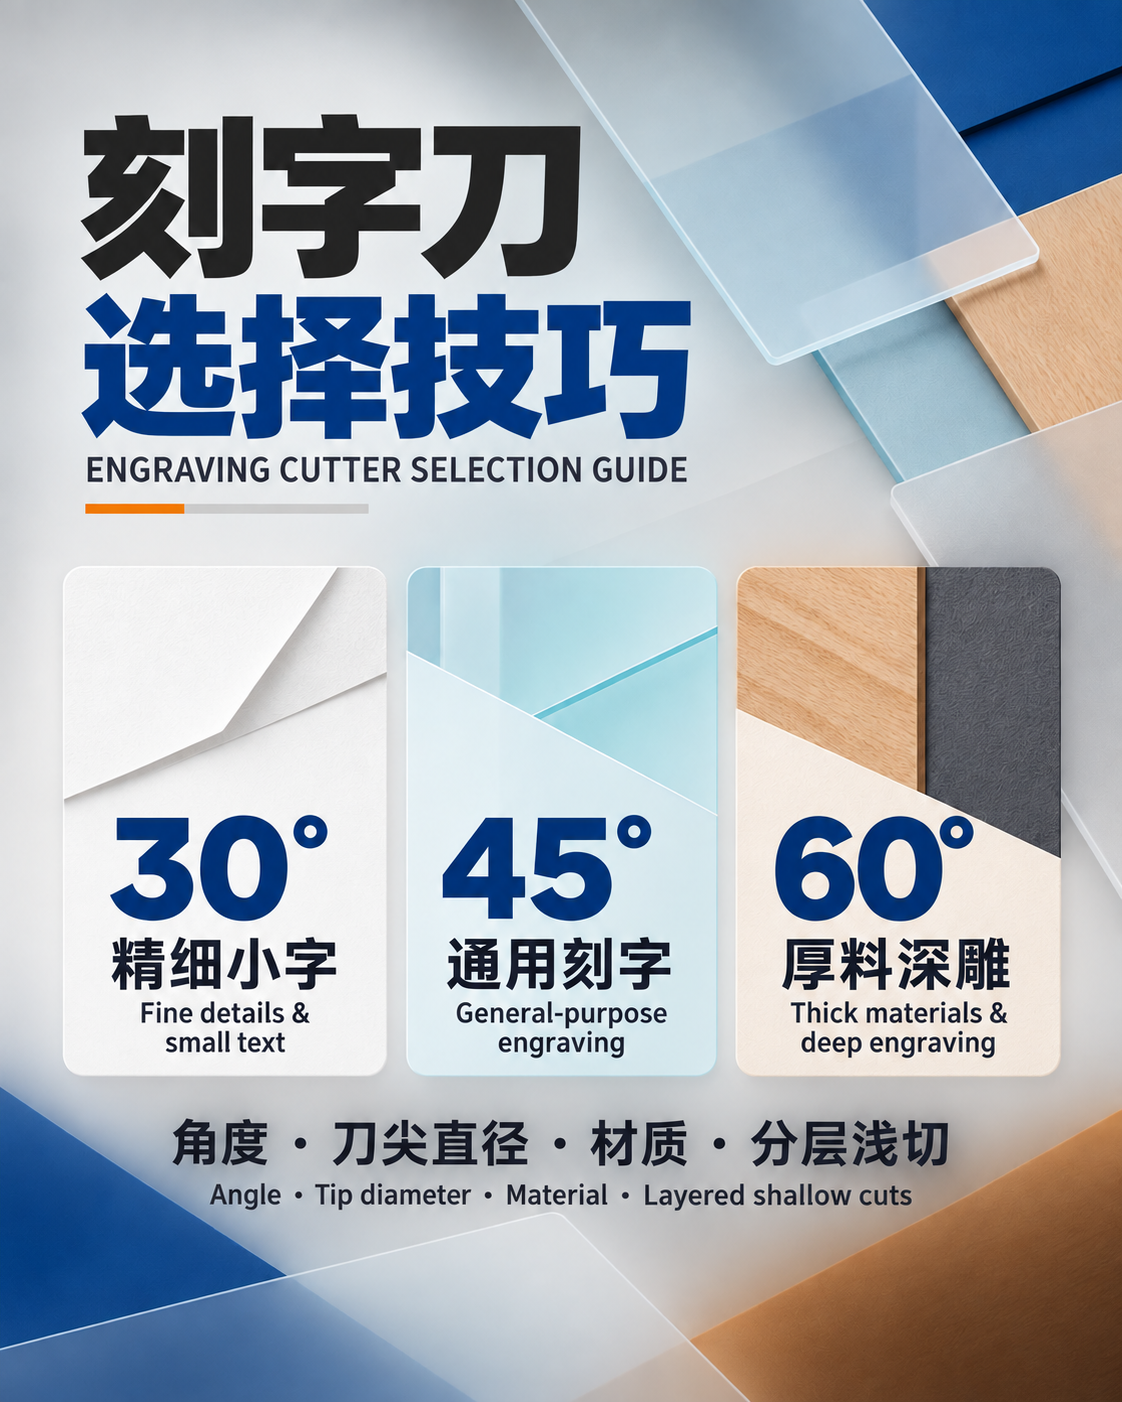
Sharp, polished acrylic carving tools reduce friction and help chips leave the cutting zone. Single-flute O-flute cutters are common for routing because the large flute provides room for chip evacuation. Two-flute tools can improve finish and productivity when the machine delivers enough feed per tooth. V-bits create lettering, chamfers, and decorative lines, while ball-nose cutters produce smooth three-dimensional contours.
Up-cut geometry pulls chips away from the slot and is effective for heat control. Down-cut geometry can protect a sensitive top surface but may pack chips below the tool. Compression geometry is useful in selected through-cutting applications. The best choice depends on cut direction, sheet support, and whether the top or bottom edge is most important.
3. Match Diameter, Flute Length, and Reach
Use the largest practical diameter that still fits the detail. Stiffer acrylic carving tools resist deflection and vibration, providing a straighter wall and longer life. Small diameters are necessary for narrow letters and fine corners, but they require low runout, lighter engagement, and conservative acceleration.
Keep flute length and stick-out only as long as needed. Excessive reach reduces rigidity and increases the risk of chatter or breakage. Confirm that the cutting edge, rather than the shank, clears the full depth and that the collet grips a clean, undamaged section of shank.
4. Balance Spindle Speed and Feed Rate
Successful acrylic carving tools must cut rather than rub. A spindle speed that is too high for the programmed feed creates tiny hot chips and melting. A feed that is too aggressive can overload the edge or move the sheet. Begin with the tool supplier’s chip-load range, then adjust using machine rigidity, depth of cut, flute count, and actual chip appearance.
Listen for a steady cutting sound and inspect the slot. If chips weld to the edge, increase effective chip load carefully, improve evacuation, or reduce heat input. If the tool chatters or produces coarse fractures, reduce engagement, check runout, and strengthen workholding.
5. Remove Chips and Control Heat
Chip recutting is one of the fastest ways to damage the finish produced by acrylic carving tools. A focused air blast moves chips out of deep slots and cools the cutting zone. Vacuum collection keeps the machine clear, but the nozzle should not prevent chips from escaping. For processes that permit coolant or mist, verify chemical compatibility because some fluids can cause stress cracking.
6. Secure the Sheet Without Distortion
Acrylic must remain flat and stable. Vacuum tables work well for larger sheets; clamps, fixtures, and suitable double-sided tape can support smaller parts. Place holding force away from the toolpath and avoid bending thin material. Leave tabs or a thin onion skin when cutting small components so they cannot move into the cutter.
7. Separate Roughing and Finishing
For deep pockets or demanding edges, use acrylic carving tools in separate roughing and finishing operations. Roughing removes most of the material while leaving a small, consistent allowance. A final light pass then removes tool marks with lower cutting pressure. Climb cutting often provides a cleaner edge on rigid CNC equipment, but direction should be validated for the machine and fixture.
A polished edge may still require flame polishing, buffing, or vapor treatment depending on the design. Machining should first create a uniform surface; polishing cannot reliably hide deep chatter, melted bands, or steps caused by runout.
8. Inspect the Cutting Edge and Collet
Dull acrylic carving tools generate heat before failure becomes obvious. Inspect the edge for chips, buildup, and loss of polish. Clean resin with a suitable method and replace a tool when finish or chip formation deteriorates. A worn collet can create runout that shortens life even when the cutter is new, so keep the spindle taper, nut, and collet clean.
9. Use Safe CNC Practices
Confirm the tool’s rated speed, tighten it correctly, close guards, and use appropriate eye and hearing protection. Collect chips safely and keep hands away from moving equipment. Never reach into a machine until the spindle has stopped and stored energy is controlled. Follow the machine manufacturer’s instructions and local workplace requirements.
JEEFOO Acrylic Cutting Solutions from Guangzhou, China
JEEFOO supplies precision acrylic carving tools, engraving cutters, router bits, and application support from Guangzhou, China. We consider acrylic type, tool diameter, flute geometry, edge polish, machine speed, depth, and target finish together. This application-led approach helps customers reduce melting, improve edge clarity, and achieve repeatable production.
Read more practical machining guidance in the JEEFOO cutting tool blog. For internationally recognized safety and manufacturing information, consult the ISO manufacturing sector. Send JEEFOO your sheet type, thickness, spindle range, and drawing so our Guangzhou team can recommend an appropriate cutter.
Frequently Asked Questions
Why does acrylic melt around the cutter?
Melting usually indicates rubbing, poor chip evacuation, a dull edge, excessive spindle speed, or insufficient feed per tooth. Correct the cause one variable at a time and test on the actual sheet.
Which tool is best for clear acrylic edges?
A sharp polished carbide O-flute is a strong starting point for many CNC routing jobs. Diameter, flute count, direction, chip load, and finishing allowance must still match the machine and part geometry.