
Quick answer: A carbide sharp engraving knife is a pointed carbide rotary cutter considered for 2D engraving, profile cutting and corner cleanup when its geometry, grade and edge are compatible with the work material. The original source lists ABS two-color sheet, acrylic, plastics and several metals, but that list is not proof that one cutter can machine all of them. Verify the exact tool specification, machine, holder, coolant method and material before use.

Contents
What is a carbide sharp engraving knife?
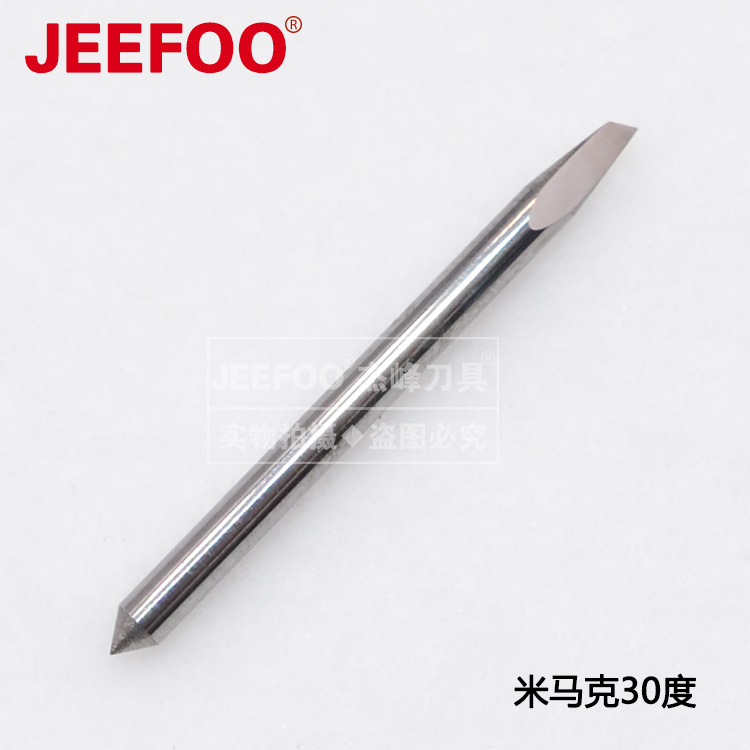
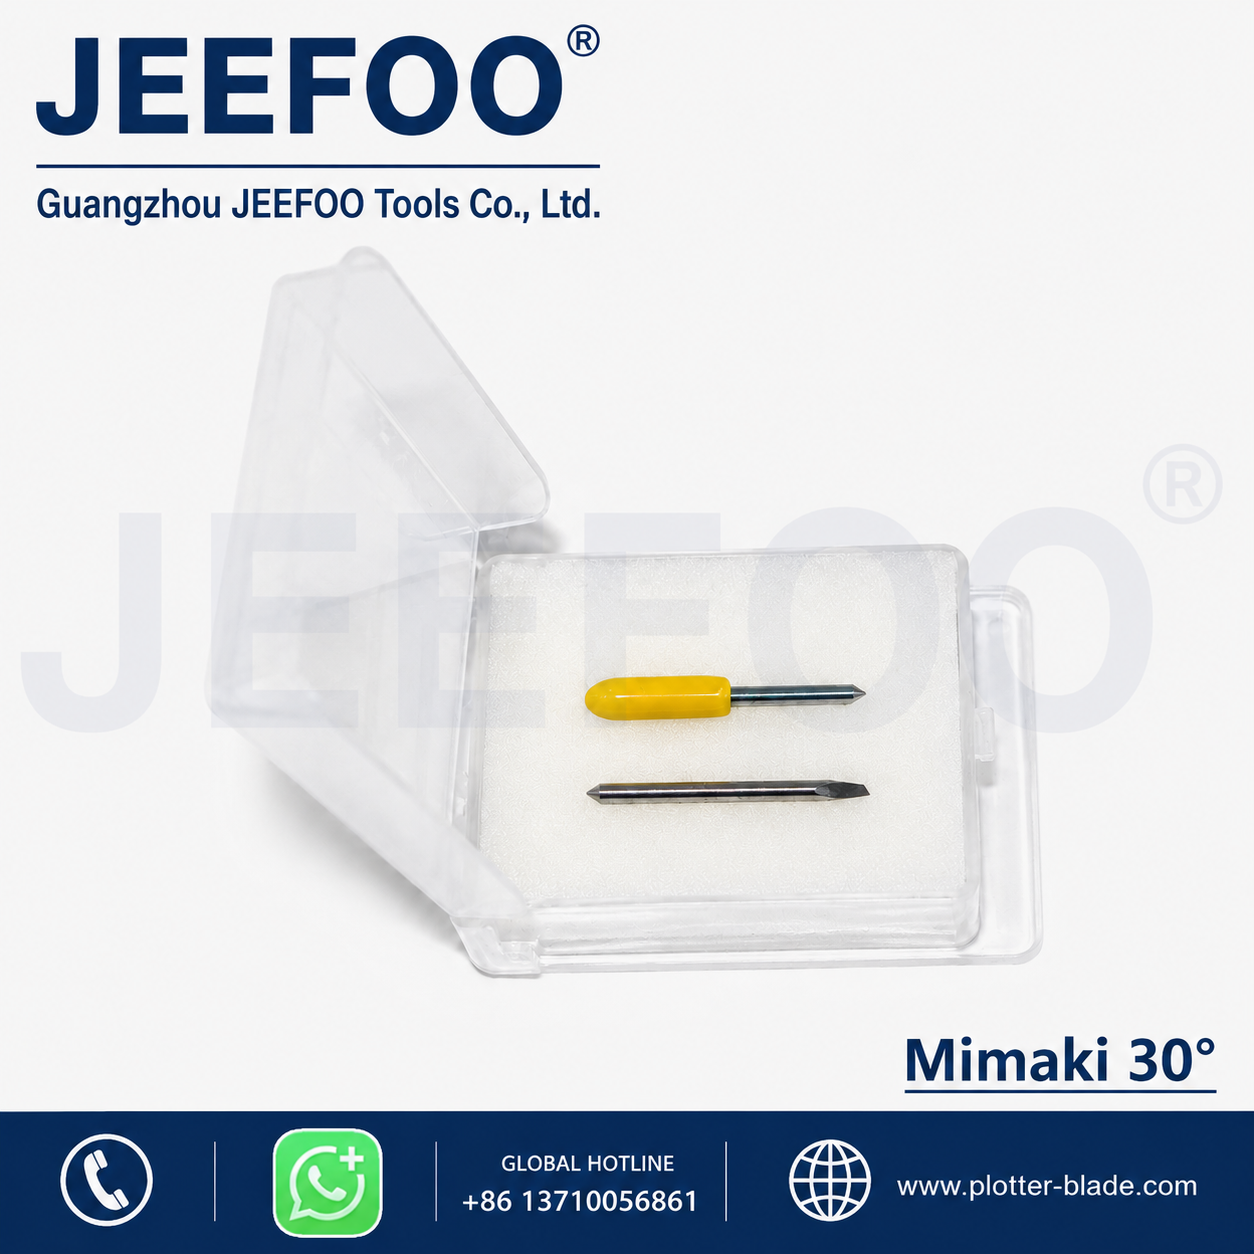
The phrase describes a sharp-pointed engraving cutter made from or tipped with carbide. “Finished sharp knife” is not a universal technical standard, so the tool should be identified from its drawing and catalog data: shank diameter, tip size, included angle, cutting-edge length, carbide grade, coating, maximum permitted speed and supported materials.
Carbide can maintain a cutting edge in demanding applications, but it is also relatively brittle. A sharp, narrow point can be damaged by impact, excessive runout, chatter, an unsuitable entry move or side loading. Carbide alone does not guarantee a clean cut or compatibility.
Three carbide sharp engraving knife uses
Two-dimensional surface engraving
The cutter may create letters, lines and shallow pockets when its tip and angle fit the smallest detail. Actual groove width changes with depth, tip flat and runout. Measure a sample rather than relying only on the toolpath preview.
Two-dimensional profile cutting
Profile cutting is possible only when cutting-edge length, flute space, stiffness and material guidance support the required depth. A pointed engraving knife is not automatically a substitute for a straight end mill. Deep or full-thickness cutting may overload the tip or rub on the conical body.
Three-dimensional corner cleanup
A fine point can reach residual material in corners left by a larger roughing tool. Use toolpaths that respect the remaining stock and avoid sudden engagement. The finishing cutter should not be asked to remove an unknown volume of material.
Tool geometry and resulting cut
| Specification | Effect to verify |
|---|---|
| Included angle | Groove wall angle and width at depth |
| Tip diameter or flat | Minimum bottom width and detail size |
| Cutting-edge length | Maximum usable contact along the edge |
| Shank diameter | Holder compatibility and runout control |
| Carbide grade | Toughness and wear behavior for the application |
| Coating | May affect friction, heat and material compatibility |
A wider tip may be stronger and may support a higher material-removal rate, but “use the widest possible tip” is incomplete advice. The tip must still fit the narrowest artwork feature, specified internal radius and groove bottom. It must also remain within spindle power, holder, workholding and toolmaker limits.
Carbide sharp engraving knife material compatibility
ABS two-color engraving sheet
Layered engraving sheet is often cut just deep enough to expose the contrasting layer. Confirm the sheet manufacturer’s recommended cutter type and depth. Too much depth can widen strokes, remove the face layer unevenly or expose the substrate beyond the design.
Acrylic
Acrylic can chip, craze, cloud or melt depending on grade, edge condition, heat and chip evacuation. Use a cutter intended for acrylic and test the exact sheet. Stop if chips weld to the tool, edges smear or the cut becomes cloudy.
Other plastics
Different polymers behave differently. Some form long chips; others soften rapidly or contain fillers. Identify the plastic rather than treating “plastic” as one material category, and review ventilation and dust requirements.
Copper, aluminum, iron and steel
Do not infer metal-cutting capability from carbide construction. Copper alloys, aluminum alloys, cast iron and steels have different cutting requirements. Verify the exact carbide grade, edge geometry, coating, speed range, lubrication or coolant method, machine rigidity and safe chip control. A tool sold for plastic engraving may be unsuitable for metal.
Seven carbide sharp engraving knife setup checks
- Define the operation. Record whether the job is shallow engraving, outline cutting, corner cleanup, chamfering or V-grooving.
- Identify the material precisely. Use the grade or product designation when available, not a broad label.
- Match the smallest feature. Compare the actual tip and groove width with narrow lines, corners and letter spacing.
- Verify tool data. Check supported materials, shank, edge length, angle, tip, grade, coating and speed limits.
- Inspect machine compatibility. Confirm collet size, runout, spindle range, rigidity, enclosure and toolpath capability.
- Plan chip, dust and heat control. Use only methods approved for the material, machine and workplace.
- Run a measured sample. Inspect width, depth, burrs, melting, chatter, chip form and tip condition.
Why runout matters for a carbide sharp engraving knife
Runout makes the cutting edge orbit away from the intended centerline. With a fine point, even a small mismatch can enlarge a groove, create uneven loading and accelerate chipping. Clean the shank and collet, use compatible undamaged tooling and minimize unnecessary overhang. If repeatability is important, measure runout with an appropriate instrument and method.
When is cooling or lubrication needed?
The original article instructs users to add cooling oil for metal engraving. That should not be treated as a universal rule. The correct fluid or dry-machining method depends on the alloy, cutter, coating, machine design and workplace controls. Some machines are not designed to contain liquid; some materials and coatings require a particular approach.
Never introduce an unapproved fluid into an electrical engraving machine. Confirm compatibility with the machine manual, toolmaker and fluid supplier. Manage mist, skin contact, leaks and disposal. OSHA’s metalworking-fluid resources describe workplace health considerations, while the equipment instructions control whether a fluid may be used.
Carbide sharp engraving knife test-cut procedure
- Inspect the point and cutting edge under adequate lighting.
- Clean the shank and holder, then install the tool to the specified engagement.
- Secure and level the workpiece; confirm clearance from clamps and fixtures.
- Review the full path, entry move, depth and remaining stock.
- Start with manufacturer-supported conservative parameters.
- Cut a short representative sample containing a line, corner and pocket.
- Measure the result and inspect the cutter before increasing productivity.
Common problems and first checks
| Problem | Check first |
|---|---|
| Tip chips | Runout, impact, overhang, entry move and side load |
| Groove too wide | Depth, actual tip, angle, runout and material movement |
| Plastic melts | Tool design, heat, chip evacuation and verified parameters |
| Metal burrs heavily | Material match, edge condition, rigidity and cutting data |
| Depth varies | Surface flatness, workholding, zero reference and machine play |
Carbide sharp engraving knife safety checklist
- Use the machine’s guards and enclosure as designed.
- Stop the spindle before measuring, cleaning or inspecting the cutter.
- Keep hands away from the programmed path and rotating tool.
- Wear eye protection and control chips, dust or mist for the material.
- Do not use a chipped, cracked or visibly damaged carbide point.
- Never clear sharp chips by hand near the cutter.
- Store the point protected from impact and contact with other tools.
OSHA’s machine-guarding guidance covers protection from rotating and moving parts. Follow the machine manual, toolmaker instructions and applicable workplace requirements.
Browse more engraving cutter and material guides.
Frequently asked questions
Can one carbide sharp engraving knife cut plastic and metal?
Only when the manufacturer specifies both material groups and the machine can provide the required conditions. Carbide composition alone is not enough.
Is the widest tip always the fastest choice?
No. The tip must fit the smallest feature and desired groove; load, power, rigidity and chip evacuation also limit productivity.
Must oil be used for every metal engraving job?
No. Use only the coolant, lubricant or dry method approved for the exact tool, alloy, machine and workplace.
Can it cut full thickness acrylic?
Only if cutting-edge length, geometry, tool specification, machine and pass strategy support the depth. A dedicated plastic-cutting tool may be more appropriate.
Why does a sharp carbide tip break?
Common contributors include impact, runout, excessive overhang, chatter, unsuitable entry, side loading, chip packing or an unsupported material application.
Conclusion
A carbide sharp engraving knife can be useful for detailed engraving and cleanup, but its real capability comes from verified geometry and application data. Match the exact material, artwork, depth, tool, holder, machine and chip-control method, then confirm the setup with a measured test cut.

发表回复
要发表评论,您必须先登录。