
Quick answer: Broken stone carving tools usually point to a combination of tool selection, cutting parameters, machine condition, setup, debris, or power problems. A broken cutter should not simply be replaced and restarted. Stop the machine, control hazardous energy as required by the workplace procedure, remove fragments safely, inspect the spindle and holder, verify the tool and material, and then run a conservative test.
Table of contents
Broken stone carving tools: eight causes at a glance
| Cause | What to verify |
|---|---|
| 1. Unsuitable or defective tool | Material, geometry, manufacturing consistency, damage before use |
| 2. Incorrect tool selection | Stone type, hardness, abrasiveness, feature size and cutter dimensions |
| 3. Improper operation | Entry method, toolpath, feed, depth of cut and accidental collision |
| 4. Unsuitable carving strategy | Roughing versus finishing, corner loads, stepdown and chip clearance |
| 5. Machine or setup condition | Runout, bearings, holder, rigidity, workholding and axis motion |
| 6. Secondary impact from fragments | Broken pieces, loose chips and debris in the cutting area |
| 7. Unsuitable spindle speed | Manufacturer range, cutter diameter, feed per edge and actual load |
| 8. Unstable electrical supply | Alarms, spindle behavior and qualified electrical inspection |
This list is a troubleshooting framework, not a substitute for the tool manufacturer’s cutting data, the stone-machine manual, a site risk assessment, or work by qualified maintenance and electrical personnel.
Tool and process causes
1. Tool quality or pre-existing damage
Broken stone carving tools can begin with cracks, edge chipping, inconsistent brazing, unsuitable carbide grade, poor geometry, transport damage, or previous overload. Inspect the new tool under adequate light before installation. Check the cutting edge, shank, joint, coating, and identification. Do not use a tool with visible damage or uncertain provenance in a demanding operation.
2. Incorrect cutter for the stone and feature
Natural and engineered stones vary in hardness, abrasiveness, inclusions, and fracture behavior. A cutter that works on one material or feature may be unsuitable for another. Confirm tool type, diameter, flute or segment design, cutting-edge material, maximum speed, supported depth, cooling requirement, and whether the operation is roughing, engraving, finishing, drilling, or profiling.
3. Improper operating parameters or entry
Excessive feed, stepdown, stepover, plunge load, side load, or rapid engagement can overload a brittle cutting edge. Too little effective feed can also create rubbing and heat in some processes. Start with the tool and machine manufacturer’s data, account for actual cutter diameter and stone, and use a controlled test. Avoid sudden direction changes, unintended plunges, holder collisions, and toolpaths that trap the cutter.
4. Carving strategy does not match the pattern
Small internal corners, narrow channels, deep reliefs, and interrupted features can concentrate load. Separate roughing from finishing where appropriate, leave a controlled allowance, reduce engagement in corners, and plan paths that allow chips or slurry to leave the cut. Complex patterns may require different tools rather than forcing one cutter through every feature.
Machine and operating-condition causes
5. Spindle, holder, workholding, or machine condition
Runout, a worn collet, contamination on the shank, insufficient insertion, loose workholding, bearing play, axis backlash, vibration, or low structural rigidity can bend or hammer the tool. Clean mating surfaces, use the correct holder, tighten only to the specified method, verify workpiece support, and have abnormal spindle noise, heat, play, or vibration inspected before restarting.
6. Secondary damage from fragments and debris
After a break, fragments can remain in a groove, behind a guard, in a dust shoe, or on the workpiece. A replacement tool can strike them immediately. Never clear the cutting area while hazardous motion or stored energy can reach the worker. Follow the site’s energy-control procedure and use suitable tools and personal protective equipment for sharp fragments and stone dust.
OSHA’s lockout/tagout tutorial explains that servicing and maintenance may require shutting down equipment, isolating energy sources, and preventing unexpected startup. Local law, the employer’s program, and machine-specific procedures control the actual requirements.
7. Unsuitable spindle speed
The original article identifies low spindle speed, but speed should not be diagnosed in isolation. Tool diameter, edge count, feed, depth, cooling, stone, spindle power, and manufacturer limits determine the load. A speed that is too low for the selected feed can raise chip load; excessive speed can create heat or exceed the tool rating. Use approved data and verify actual spindle performance.
8. Unstable voltage or electrical faults
Power disturbances may cause spindle-speed variation, drive alarms, loss of torque, interrupted motion, or control resets. These symptoms can overload a cutter, but voltage must not be guessed from a broken tool alone. Record alarms and operating conditions. Electrical panels, drives, grounding, supply quality, and wiring should be evaluated only by qualified personnel using approved procedures.
Safe diagnostic sequence after a break
- Stop the process and keep people clear of moving parts and sharp fragments.
- Apply the workplace’s required shutdown and hazardous-energy controls before servicing, cleaning, unjamming, or tool replacement.
- Document the tool, material, program, feed, speed, depth, cooling, break location, alarm history, and time in the cycle.
- Remove fragments safely and inspect guards, workholding, holder, collet, spindle, cutting area, and workpiece.
- Check the previous tool for fracture pattern, edge chipping, rubbing, heat discoloration, shank marks, and collision evidence.
- Verify the replacement tool’s identity, condition, dimensions, maximum speed, installation, and required coolant or dust-control method.
- Review the toolpath for plunges, sharp corners, excessive engagement, repeated recutting of debris, and unexpected rapid moves.
- Run a reduced-risk test on scrap or a noncritical area, observe the machine from a safe position, and inspect the result before production.
How to reduce repeated breakage
Create a setup sheet for each stable job. Record the stone, tool identifier and batch, holder, stickout, spindle speed, feed, stepdown, stepover, cooling or dust-control method, workholding, program revision, and inspection result. Track tool life by actual cutting time or distance. Repeated data makes broken stone carving tools easier to diagnose than memory alone and helps identify changes in material, supplier, setup, or machine condition.
Frequently asked questions
Should the replacement tool use the same settings?
Not automatically. First determine why the previous cutter failed. Repeating an unsafe or unsuitable setup can break the new tool immediately.
Does a broken tool prove the spindle speed was too low?
No. Breakage has multiple possible causes. Speed must be evaluated with feed, diameter, engagement, material, cooling, runout, rigidity, and tool limits.
Can fragments be removed with the machine paused?
A pause or emergency stop may not isolate every hazardous energy source. Follow the employer’s machine-specific energy-control procedure and applicable law before reaching into the equipment.
When should maintenance inspect the spindle?
Escalate abnormal noise, heat, runout, vibration, bearing play, speed fluctuation, repeated alarms, holder damage, or repeated unexplained breakage.
What is the first prevention step?
Match the tool to the material and feature, use verified cutting data, inspect the setup, control debris, and test conservatively with proper guarding and workplace safety procedures.
Broken stone carving tools: visual inspection note

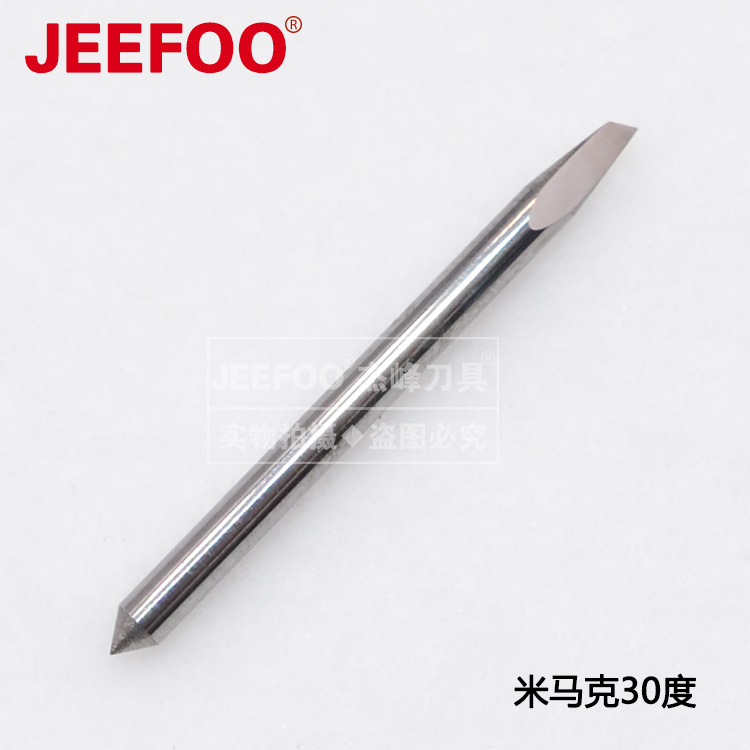
This image is an illustrative carbide cutting blade, not proof of a particular stone-tool fracture. When assessing broken stone carving tools, photograph the actual fracture, shank, holder, cut, debris and setup before cleaning. Preserve the failed tool when a supplier, safety team or maintenance specialist may need to inspect it.
Conclusion
Broken stone carving tools are a symptom, not a complete diagnosis. The eight-cause framework covers the tool, selection, technique, machine, debris, spindle speed, and power supply. A safe, documented inspection should identify evidence before parameters are changed or production resumes.
Browse more cutting-tool articles for related manufacturing information.



发表回复
要发表评论,您必须先登录。